
Comments are closed.

Introduction In this episode, we chat with Kay Purcell, co-founder of Chaotic Wholesome Presents, a TTRPG production studio known for creating engaging stories and

Introduction In this episode, we sit down with Nathan Doyle, the game designer behind ‘Attention Deficit and Dragons’. Nathan discusses his early gaming experiences,

Introduction It’s the four-year anniversary of Roll Play Grow! Thank y’all so much for being here. This episode features an interview with Fondue, the

A very useful article. I spent quite some time trying to find this info and it was all hear and I found it when I wasn’t looking.
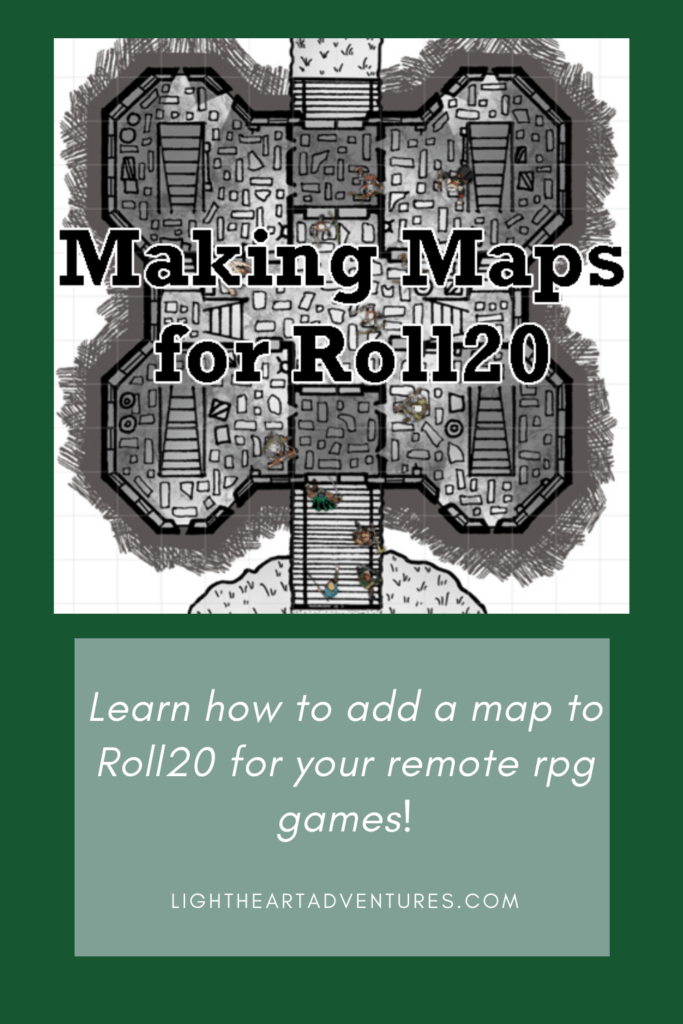
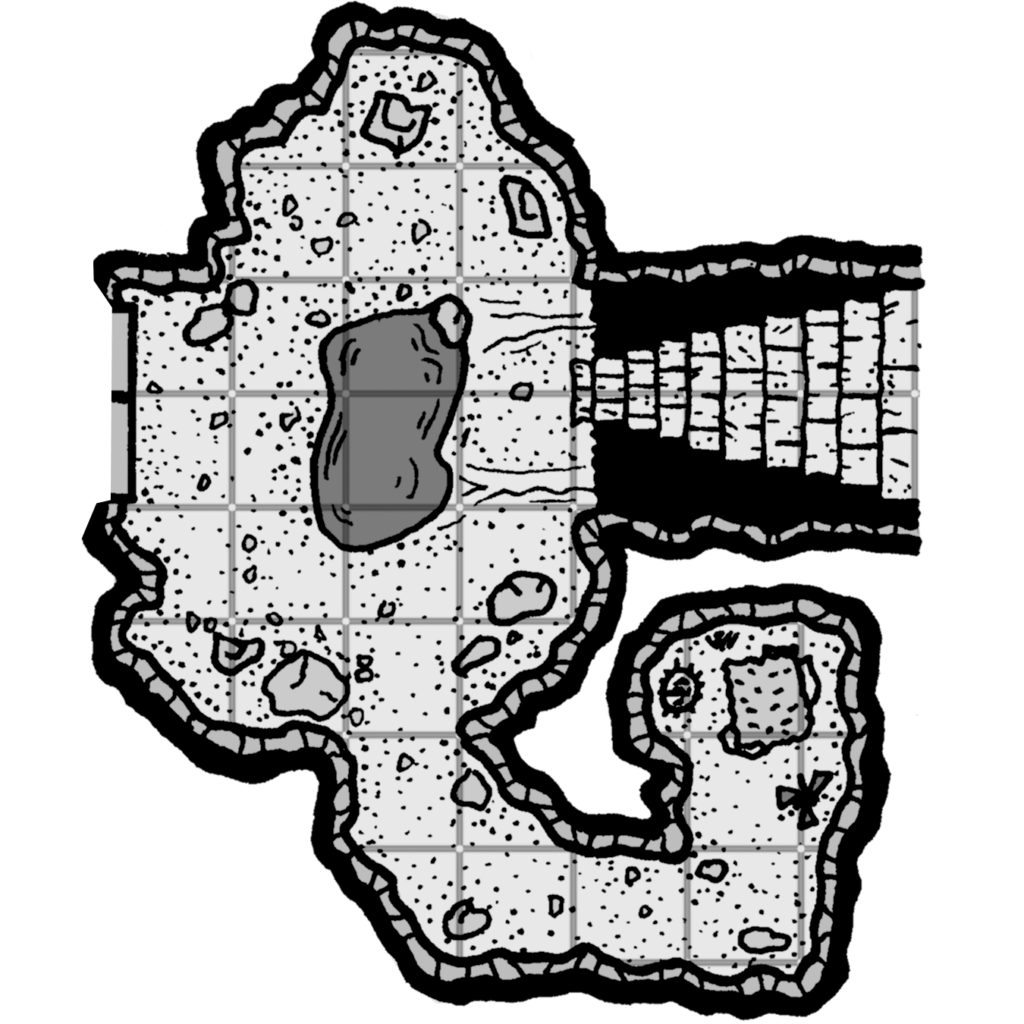
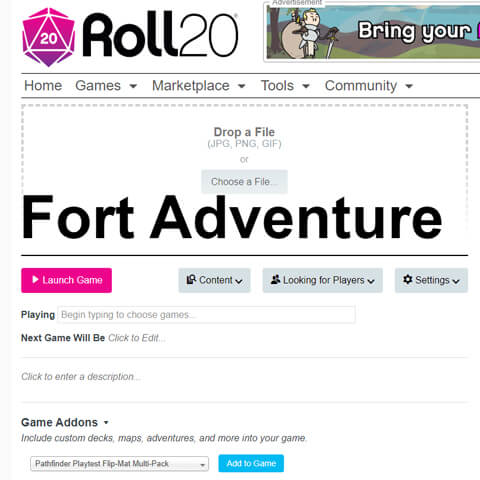
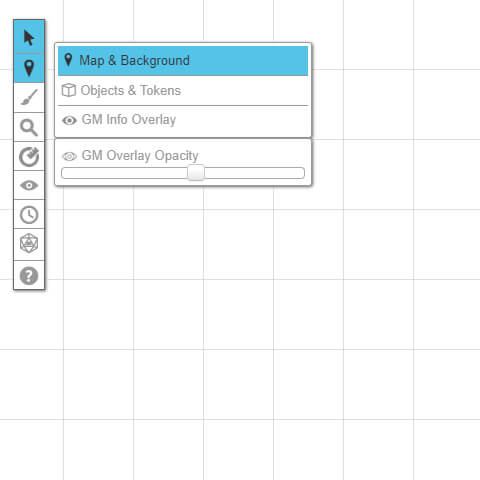
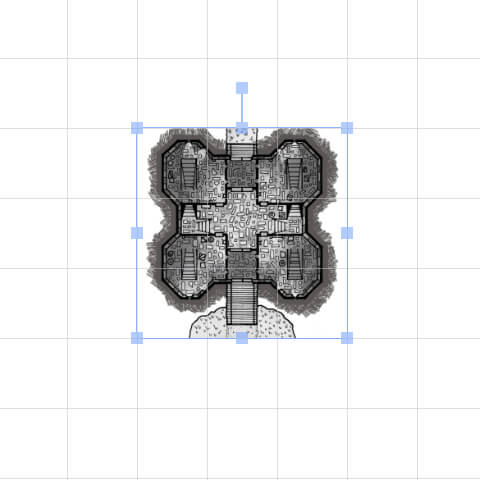
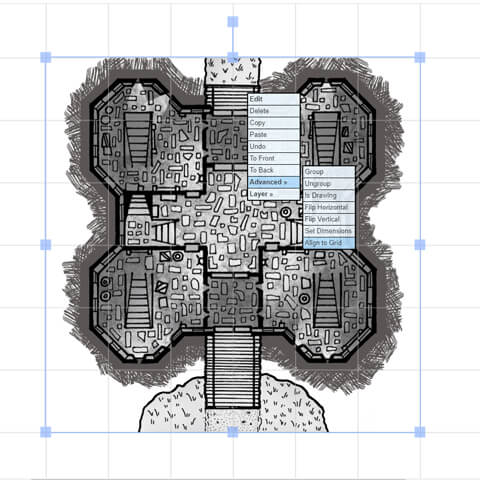
What if your map doesn’t have grids?
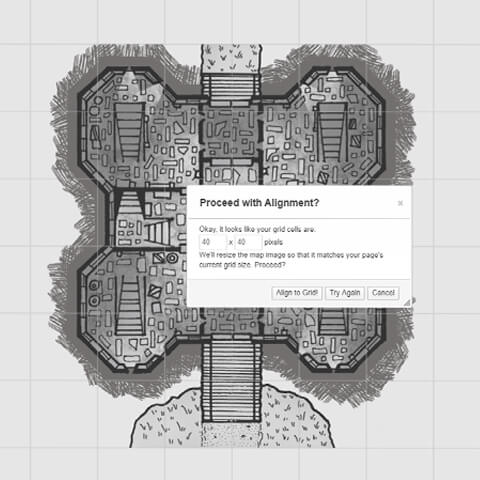
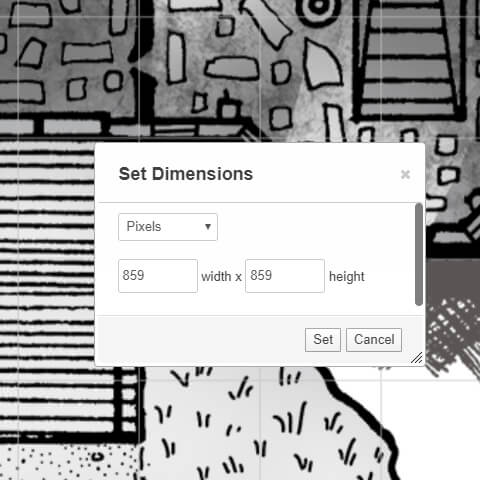
If you’ve got an exterior map or some place that doesn’t have convenient drawn-in grids, you can use the “Set Dimensions” option under the “Advanced” tab to manually enter in the size.
For example, I released a cave map pack where each square was 75 pixels in height and width. By entering in 75, the map should auto-resize to the correct size for your tokens. Most battle map packets include pixels per square in instances like this 🙂
Hope that helps!