It’s no secret how much I love drawing crates. Okay, so maybe it’s not a love, but I do find crates aesthetically pleasing and fun to place around maps. Today I’m going to go over how to draw crates to seed throughout your own spooky warehouse or inn. For more details on digital setups, please check out my guide on working with Photoshop!
Page setup
When starting up a new project, I set a page resolution of 600 DPI (Dots per inch). While this does increase the file size, I find it easier to reduce the size of an image when I’m done instead of trying to enlarge it later. Working with larger resolutions also allows for cleaner lines.
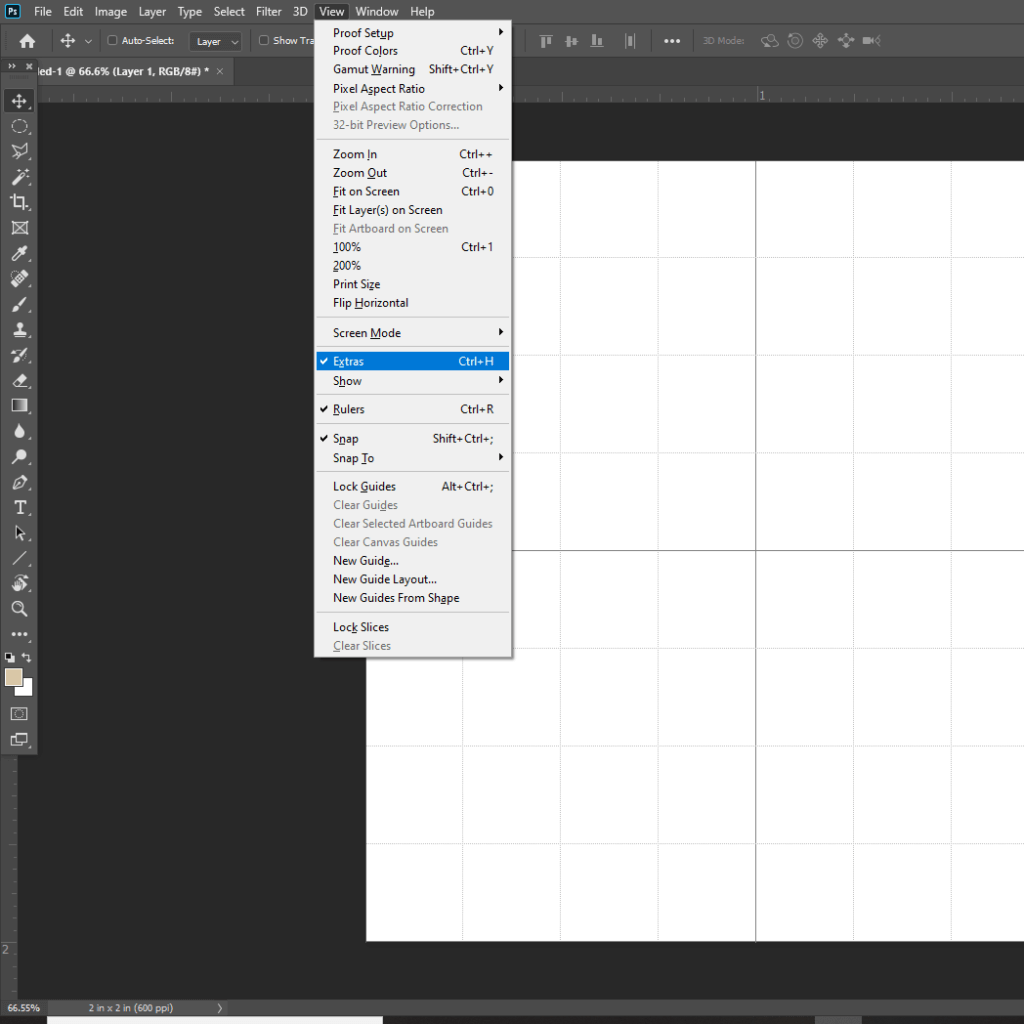
Once the page is ready, select the View tab, turn on Extras (Ctrl + H), Rulers (Ctrl + R), and Show: Grid (Ctrl + ‘). This creates a grid layout on the page that we can use to make sure we have perfectly straight lines for our crate. Next, turn on Snap (Ctrl + Shift + 😉 — as long as we draw near the grid lines, it’ll snap directly over the grids. With that out of the way, we’re ready to…
Start drawin’!
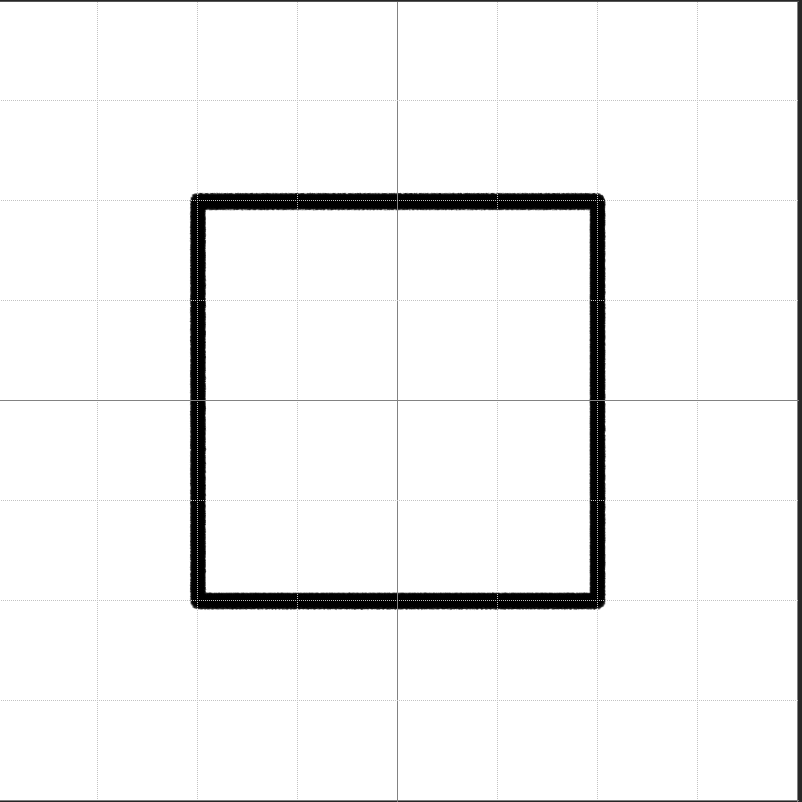
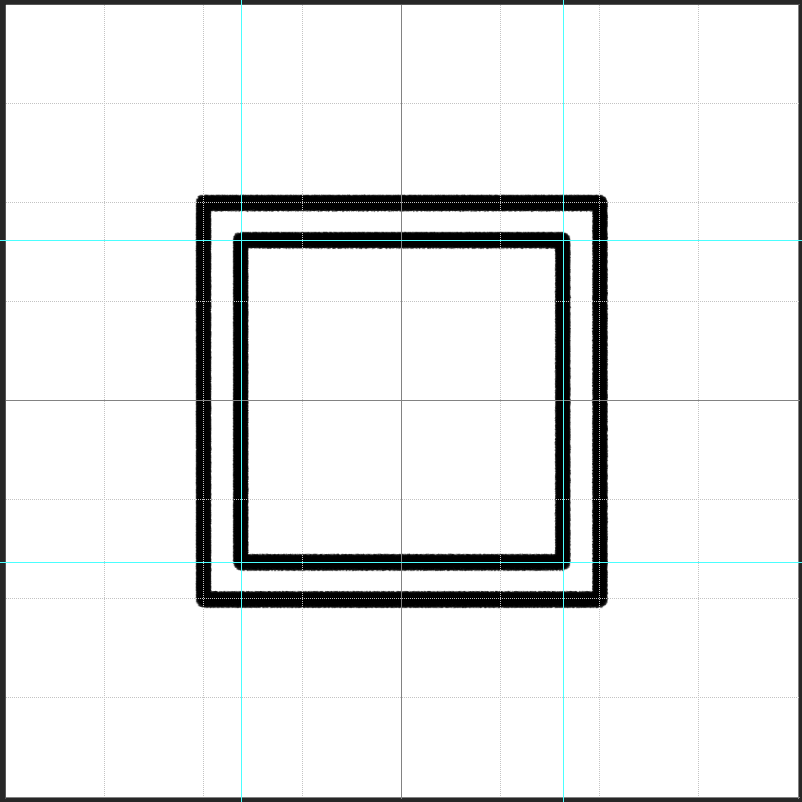
With our page set up properly, we’re going to start with a box: the most majestic of all geometric shapes. Since we turned Snap and the guides on, we can left click on one grid corner then Shift + left click on the next to create straight lines that look nice and clean.
Next, move your mouse over to the rulers, click on the ruler, and then drag to your page – this creates a guide we’re going to use for more detail.
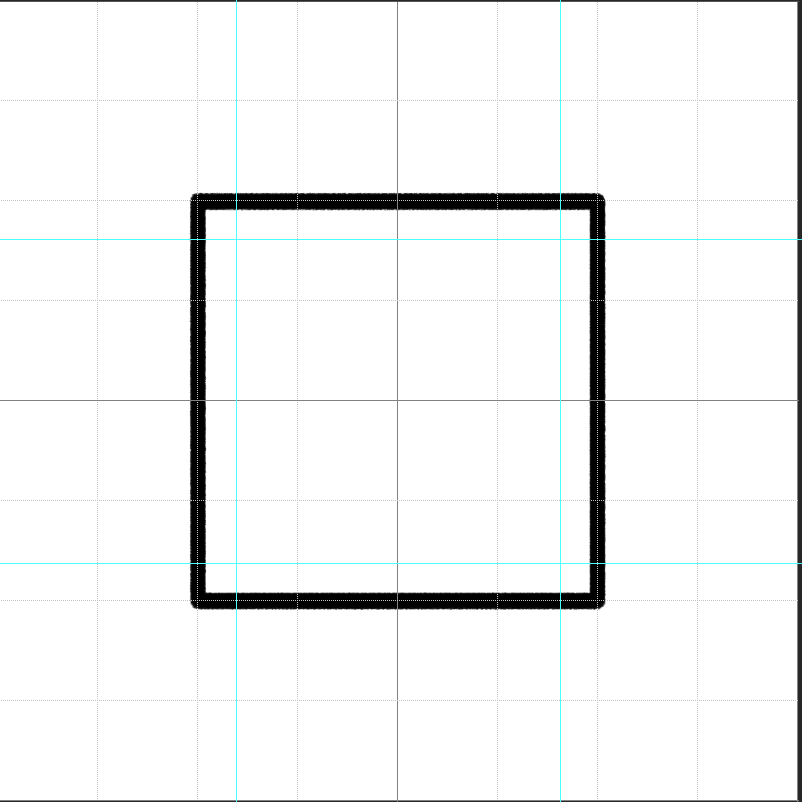
Quick tip: hold shift when dragging the guide to move it in 1/8th increments on the page so we can make guides that wouldn’t normally line up with the grid.
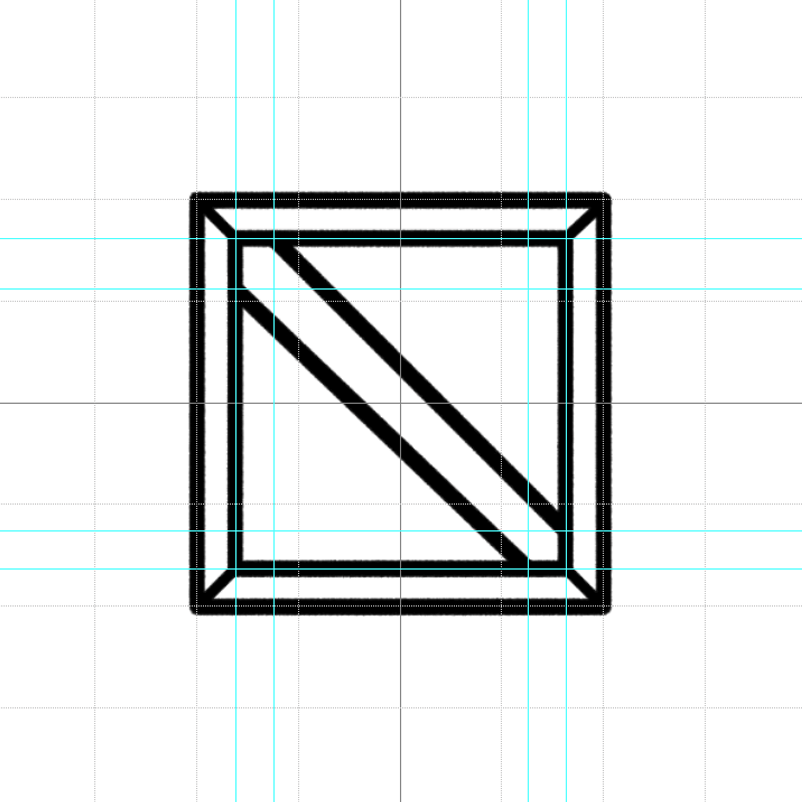
By adding some more guides perpendicular to the original ones, we can do fun stuff like symmetrical diagonal lines. Once we’ve got our main lines for the crate, we can move on to details.
How to draw crates: The nitty gritty details
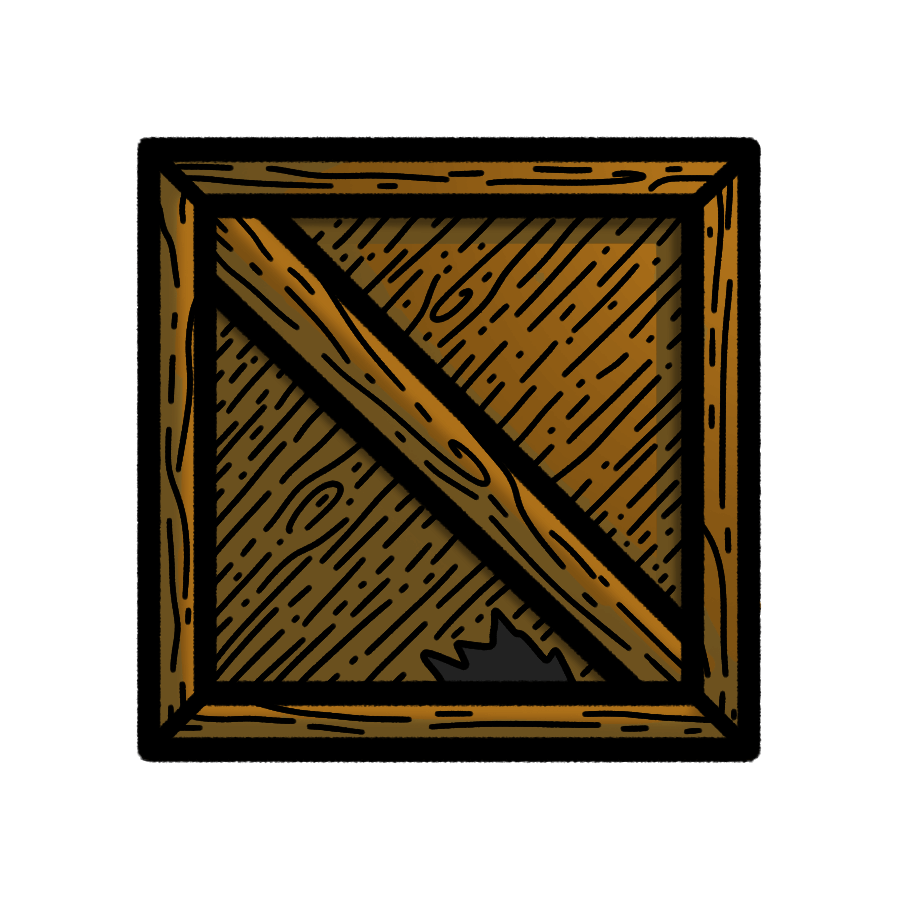
Now that we’ve got a happy little box, let’s add in some textures to make it stand out. Make sure to turn off Snap–otherwise our lines are going to auto-align to the grid when we’re trying to freehand. By selecting a smaller brush width, we can replicate wood grain on the planks. I’m using a size 10 brush for the details and size 30 for the planks.
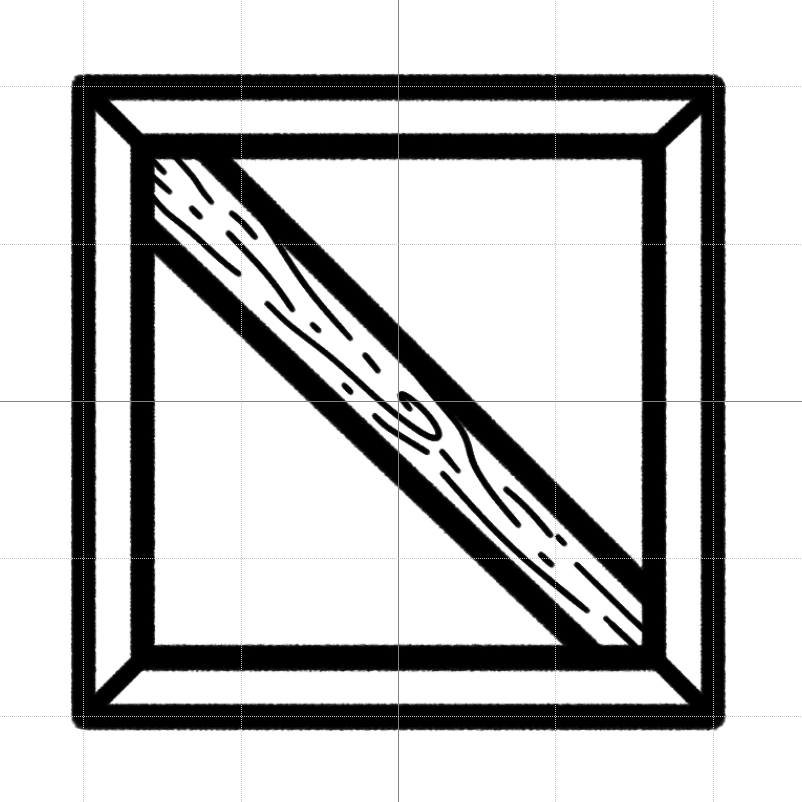
Keep in mind that natural wood grain moves in the same direction, but feel free to add in any flaws, such as whorls, scratches, and holes. In no time at all you’ll have a fine piece of wood!
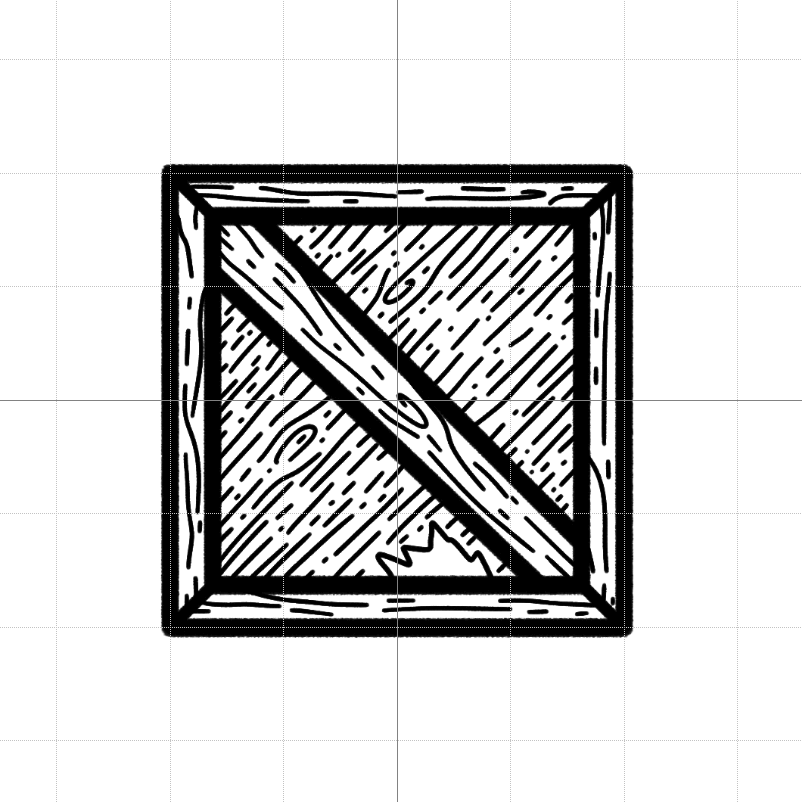
After that, it’s up to you how much shading or color you want to add to your piece!
And there you have it. That’s how to draw crates the Lightheart way! Please feel free to show off your own crates or other objects used to ship large goods and sundries! We love hearing from you, so be sure to connect with us on Twitter, Facebook,Instagram, or Discord to let us know how it went!
For more art tutorials, check out the Art Tools & Tutorials section of our blog where we have tutorials for both digital and pen-and-paper artwork. If you’re looking for suggestions on art supplies, check out our Artist Trinkets page.