
Comments are closed.

Introduction In this episode, we chat with Kay Purcell, co-founder of Chaotic Wholesome Presents, a TTRPG production studio known for creating engaging stories and
Introduction In this episode, we sit down with Nathan Doyle, the game designer behind ‘Attention Deficit and Dragons’. Nathan discusses his early gaming experiences,

Introduction It’s the four-year anniversary of Roll Play Grow! Thank y’all so much for being here. This episode features an interview with Fondue, the

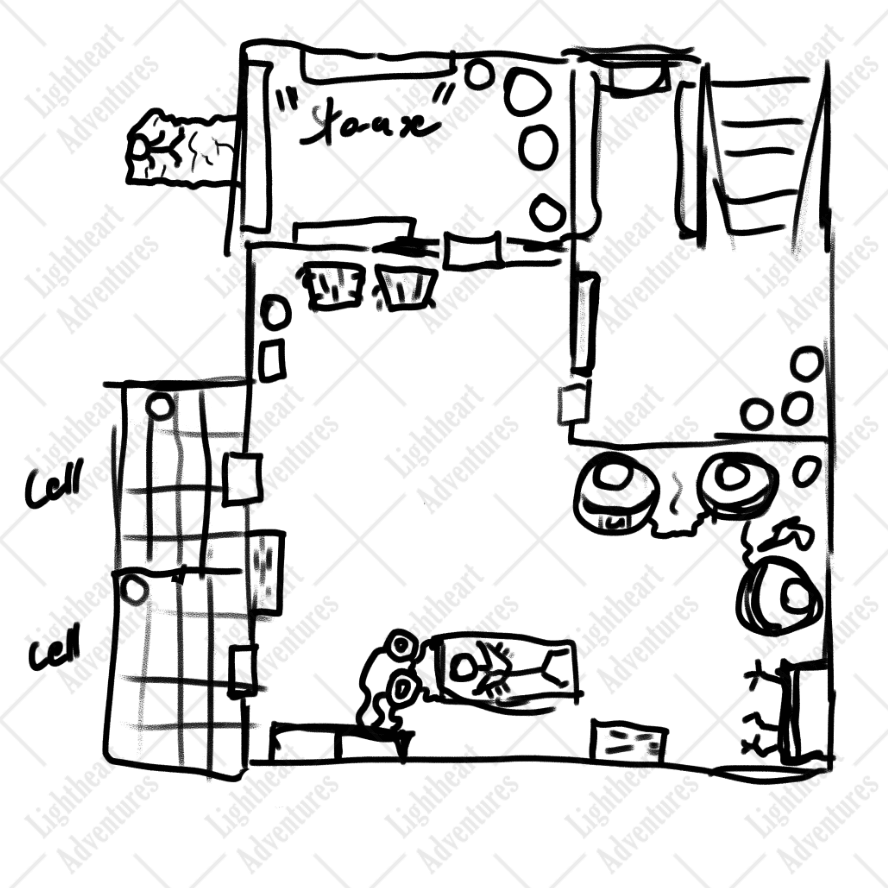
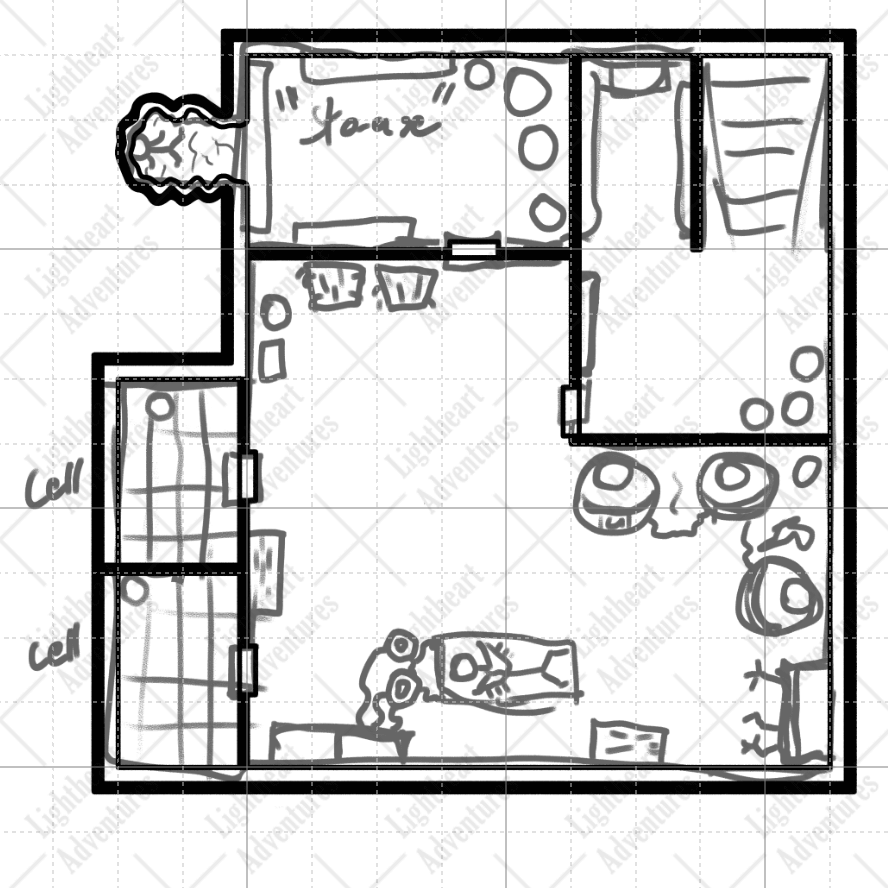
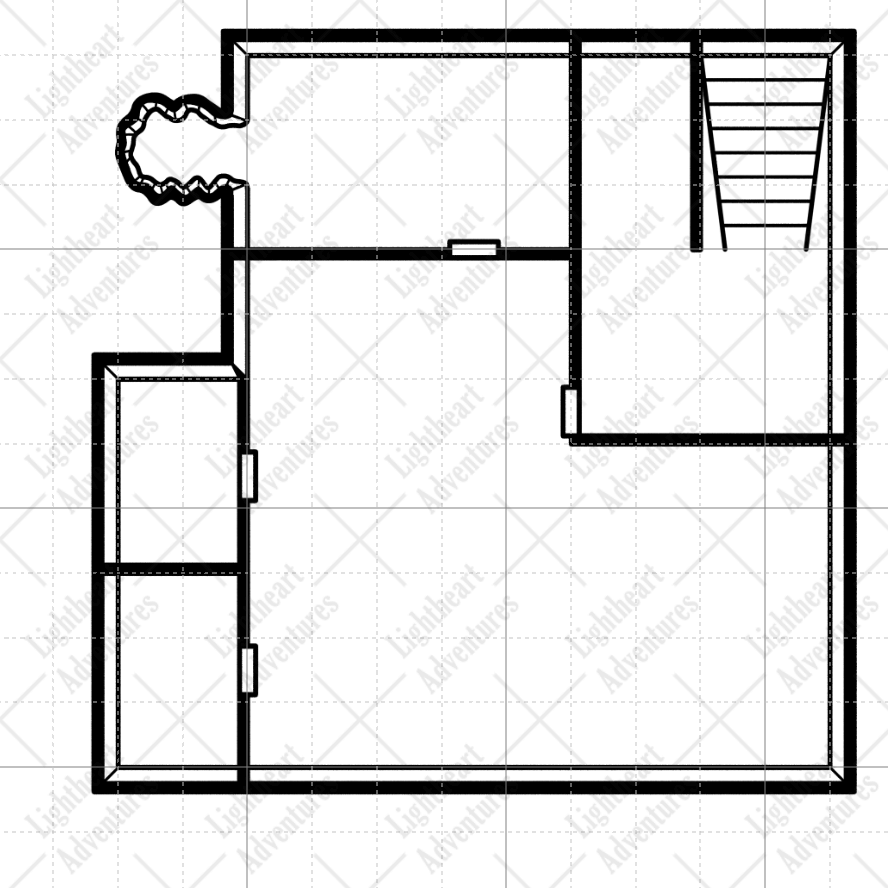
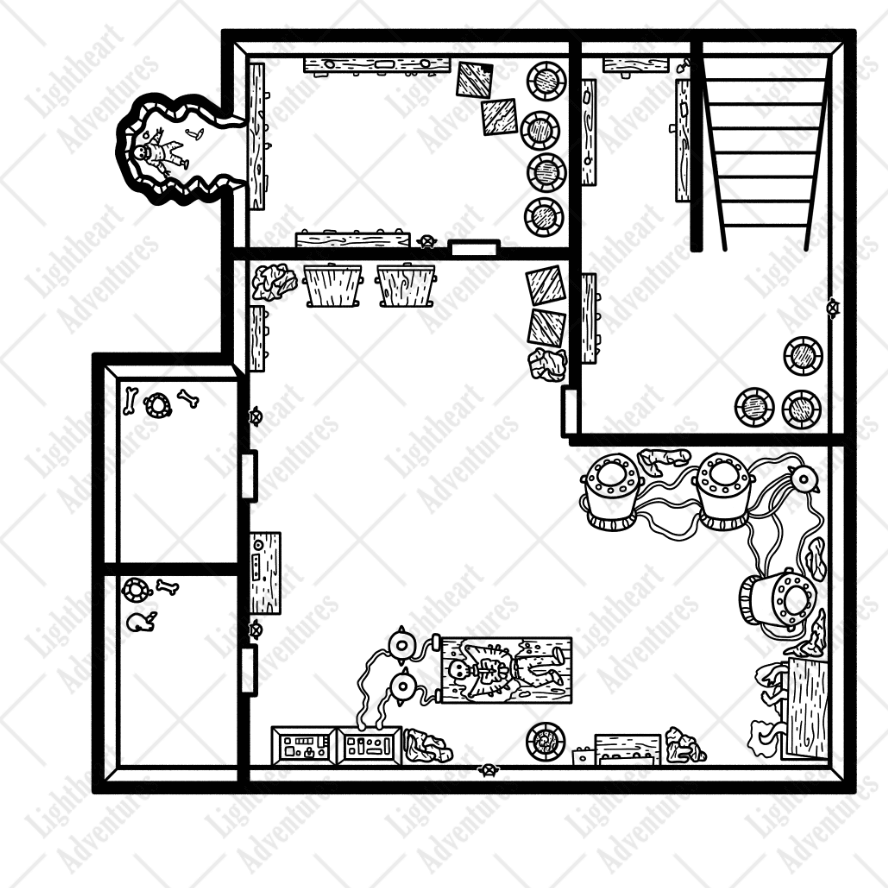
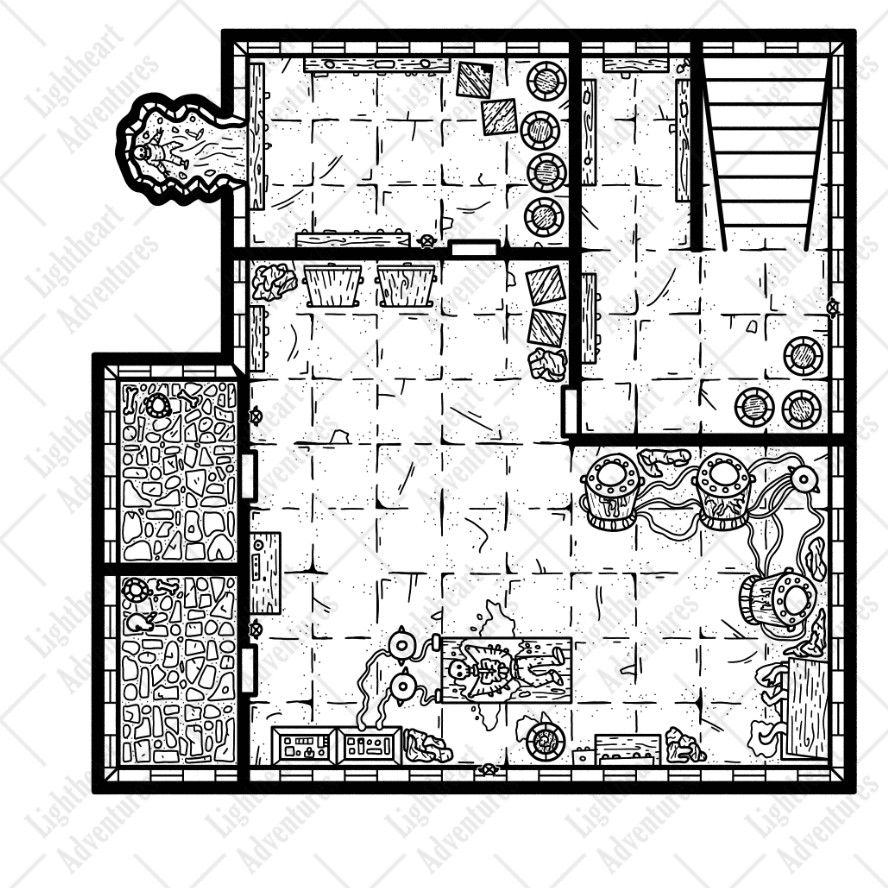
I’ll pretend I didn’t see the hidden room when we play again. (Or, try too anyway)